Tagging Camtrap Images Using digiKam: A Tutorial
Install digiKam
Note
Feel free to bypass this section if you've already installed digiKam.
Download and install the latest version of digiKam according to your OS.
Configurations will be addressed in subsequent sections of the guide, so you can quickly proceed with the initial setup assistant using all default values.
Note
Face detection and auto-tagging features won't be utilized in our tagging process, thus you can safely disregard any pop-ups prompting their download.
digiKam configuration
To begin configurations, navigate to Settings -> Configure in the digiKam menu bar.
ExifTool
Warning
Skip this section if you've been instructed to use the Exiv2 backend.
ExifTool is the first thing you need configure.
To enable video tagging support, we opt for ExifTool as the metadata backend for digiKam, refer to this link for detailed reasoning.
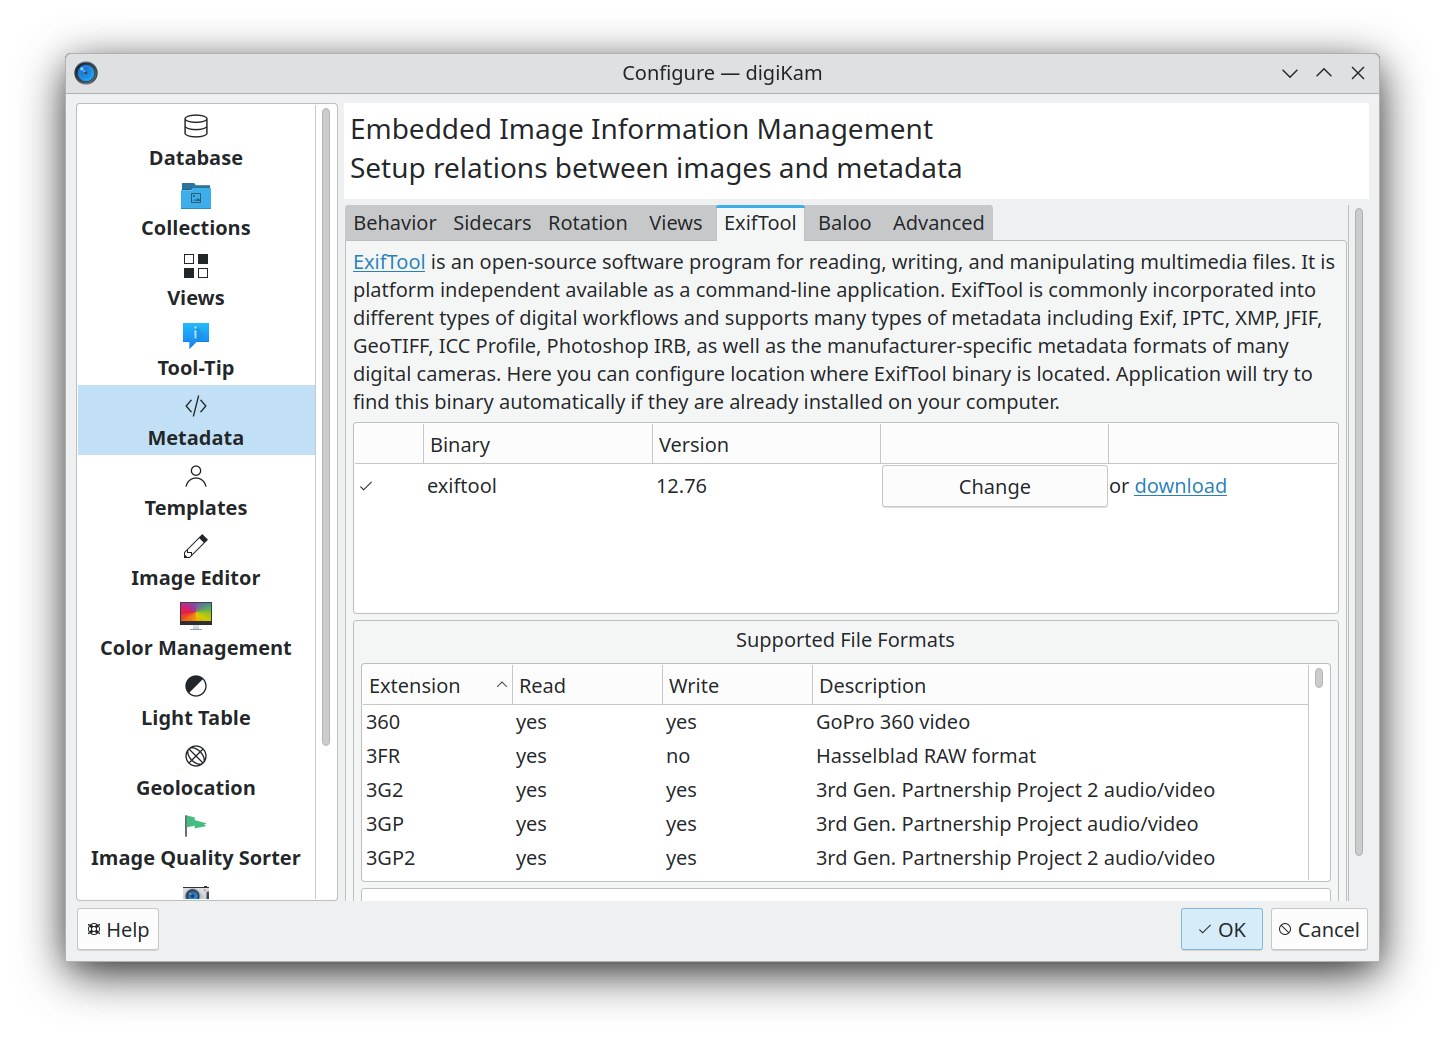
Navigate to ExifTool tab under Metadata and click on Find. Then, select the ExifTool executable file located on your machine. If you haven't downloaded ExifTool yet, click on the download button and install it first.
Once configured, the tab will appear as follows:
Database
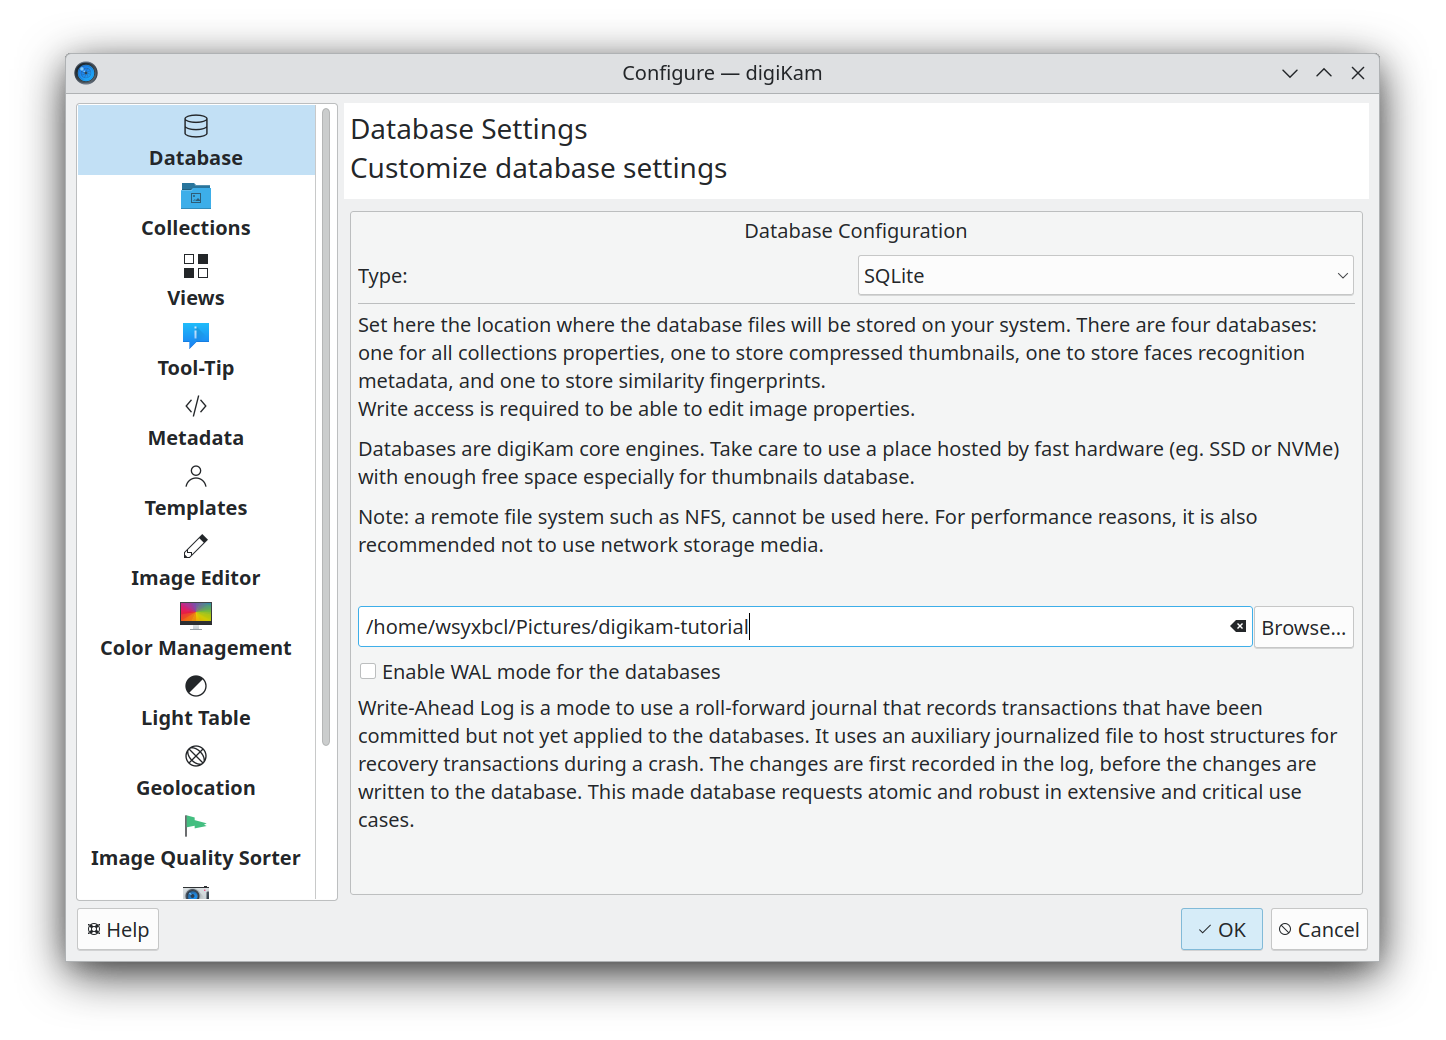
We utilize the default SQLite for the type of database. Select the database storage location according to your requirements.
Volunteers
For volunteers tagging data on mailed hard drives, we suggest selecting the top-level directory of the same hard drive (e.g., D:/ on Windows platform) as the location of the database. (This ensures that the database file can be sent back along with the hard drive).
Metadata
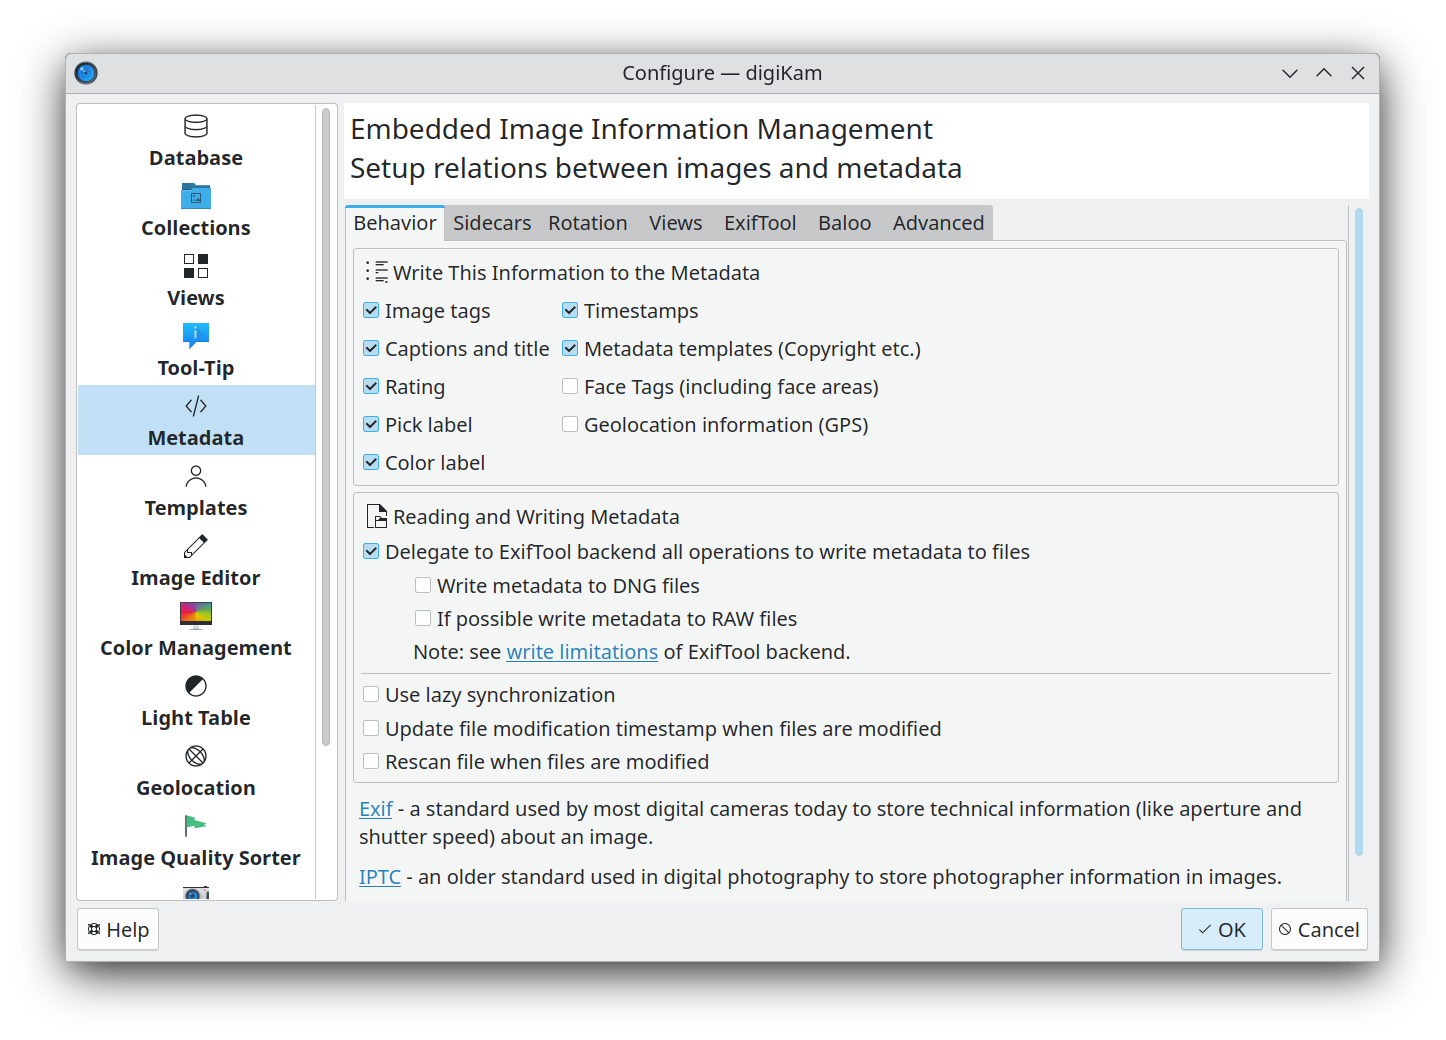
In the Behavior tab, select the following items under Write This Information to the Metadata: Image tags, Captions and title, Rating, Timestamps and Geolocation information (GPS). Enable Delegate to ExifTool backend... in Reading and Writing Metadata.
Warning
Activate the ExifTool backend only if you've installed exiftool in the previous section.
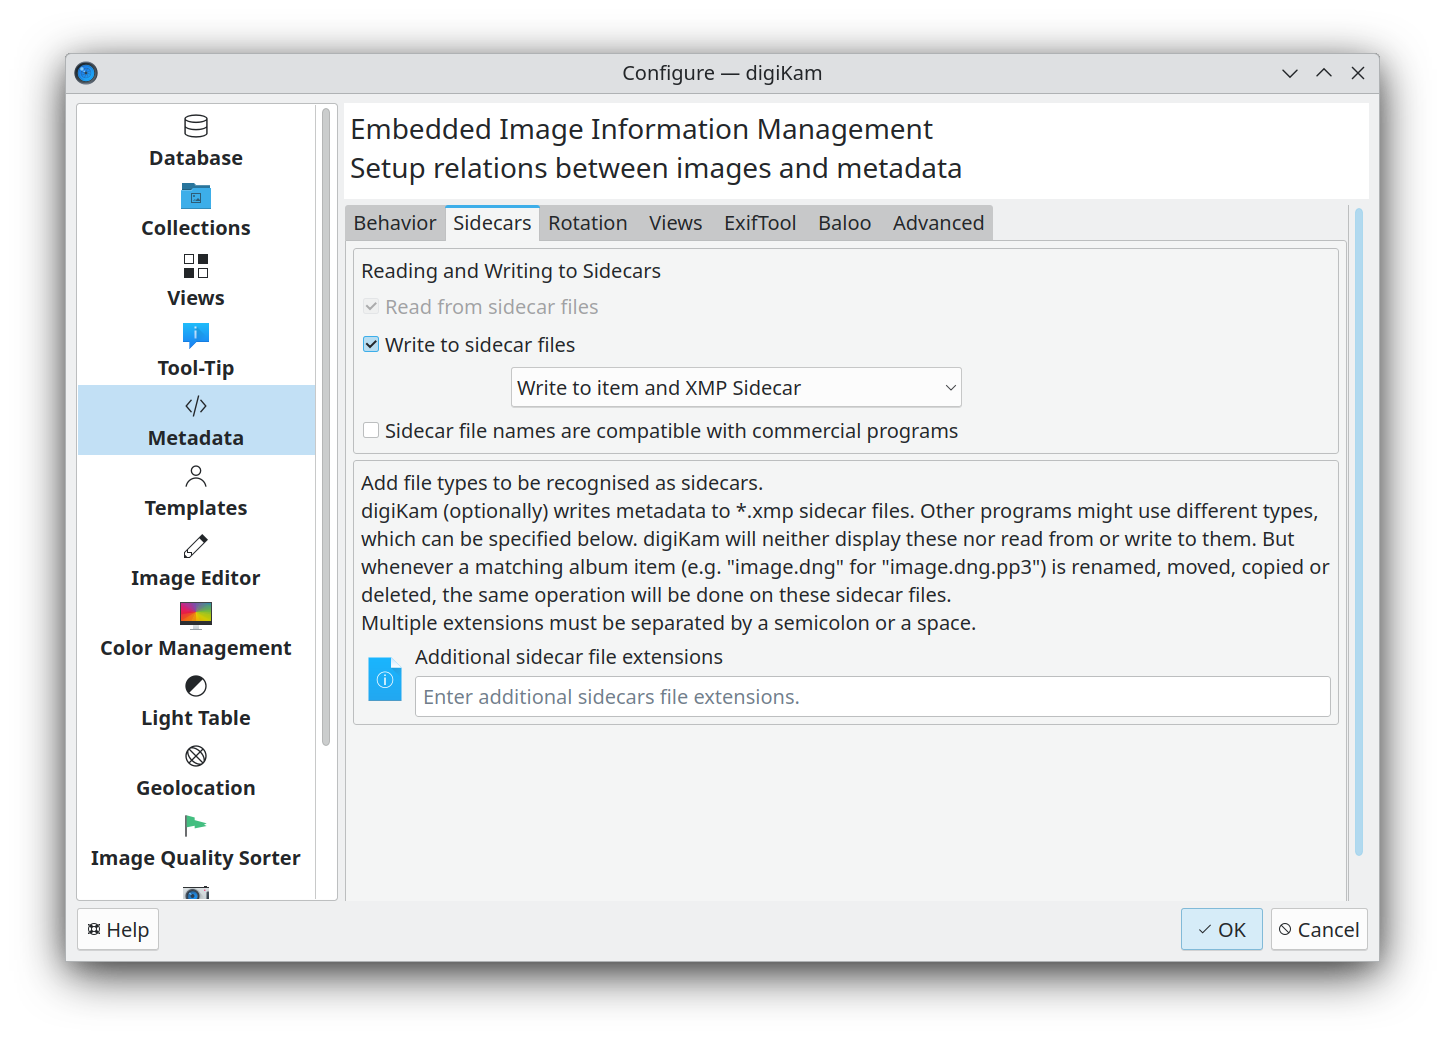
 In the Sidecars tab, make sure to enable Write to sidecar files, and then select Write to item and XMP Sidecar from the menu.
Import Taglist
To maintain consistency across all tags, we employ a unified taglist. Therefore, it's advisable to import our taglist into digiKam before proceeding with tagging.
Note
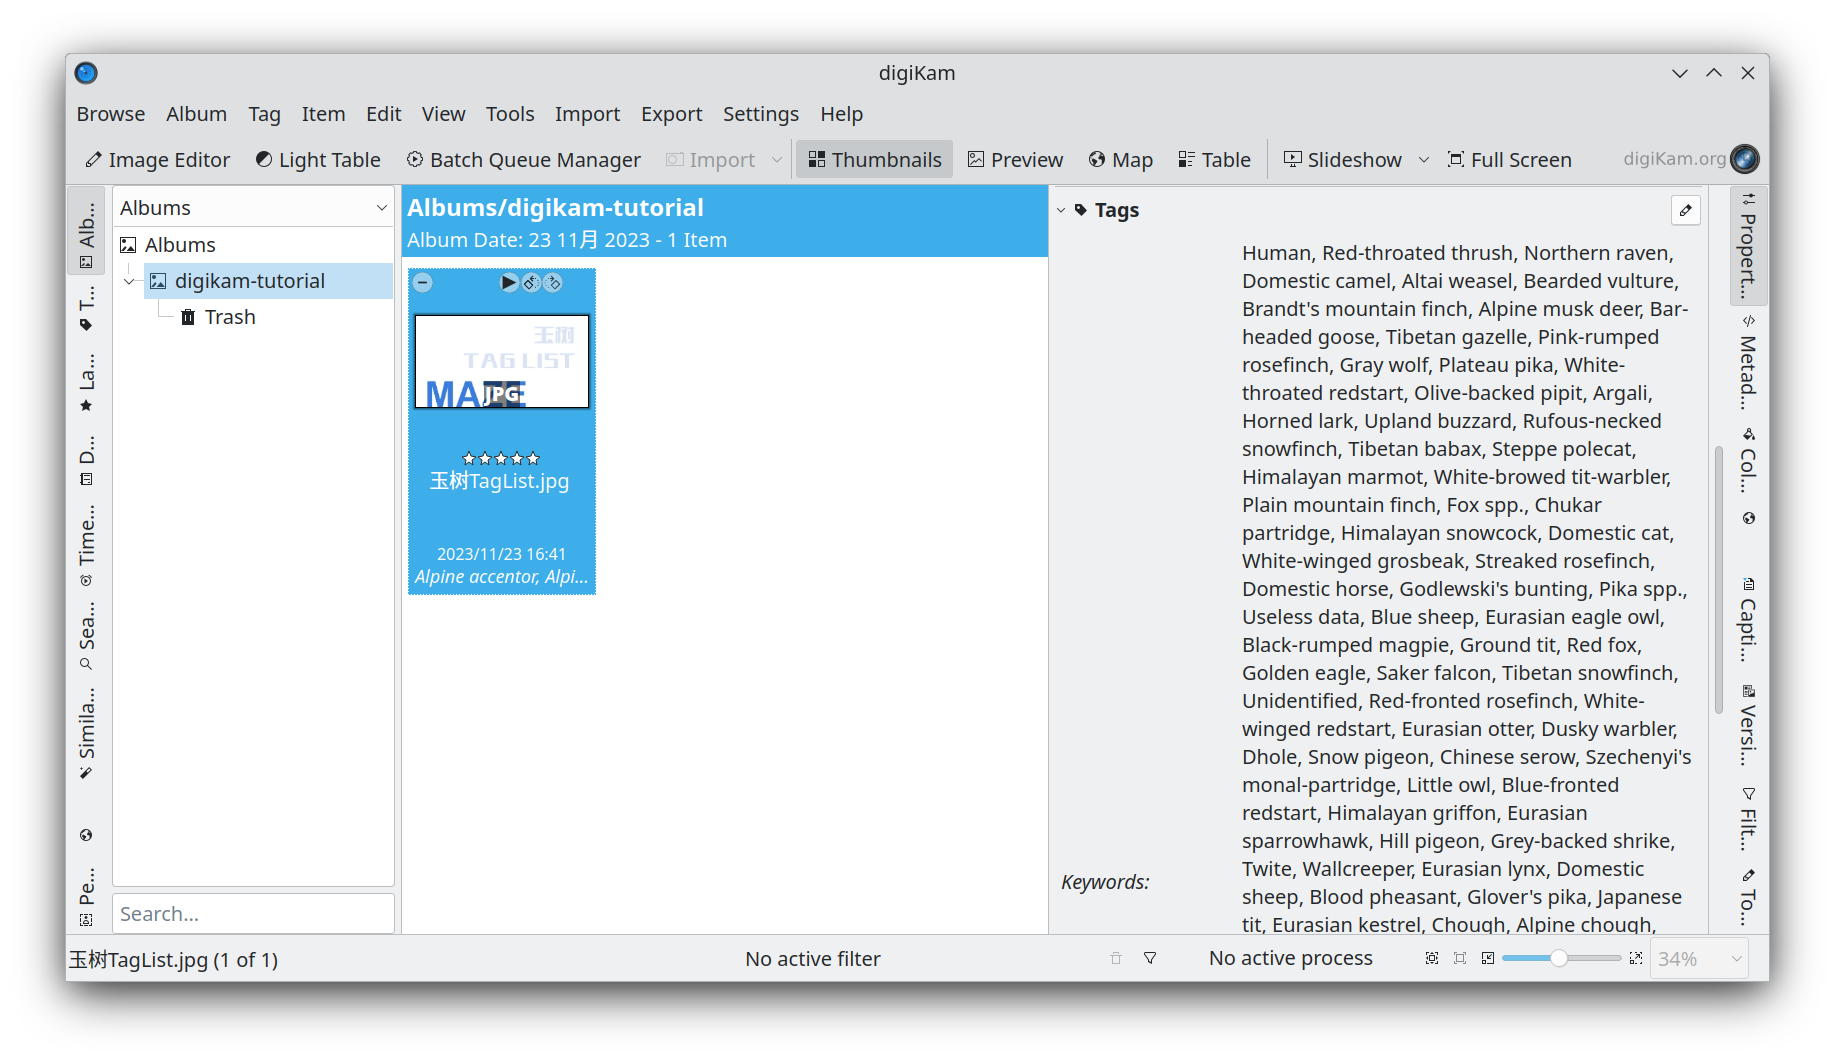
The taglist file is an image (or xmp) containing multiple tags, organized within the digiKam:TagsList XMP namespace.
First, copy the taglist image to your current digiKam album by either importing it through Import -> Add Images or simply dragging it into the digiKam window.
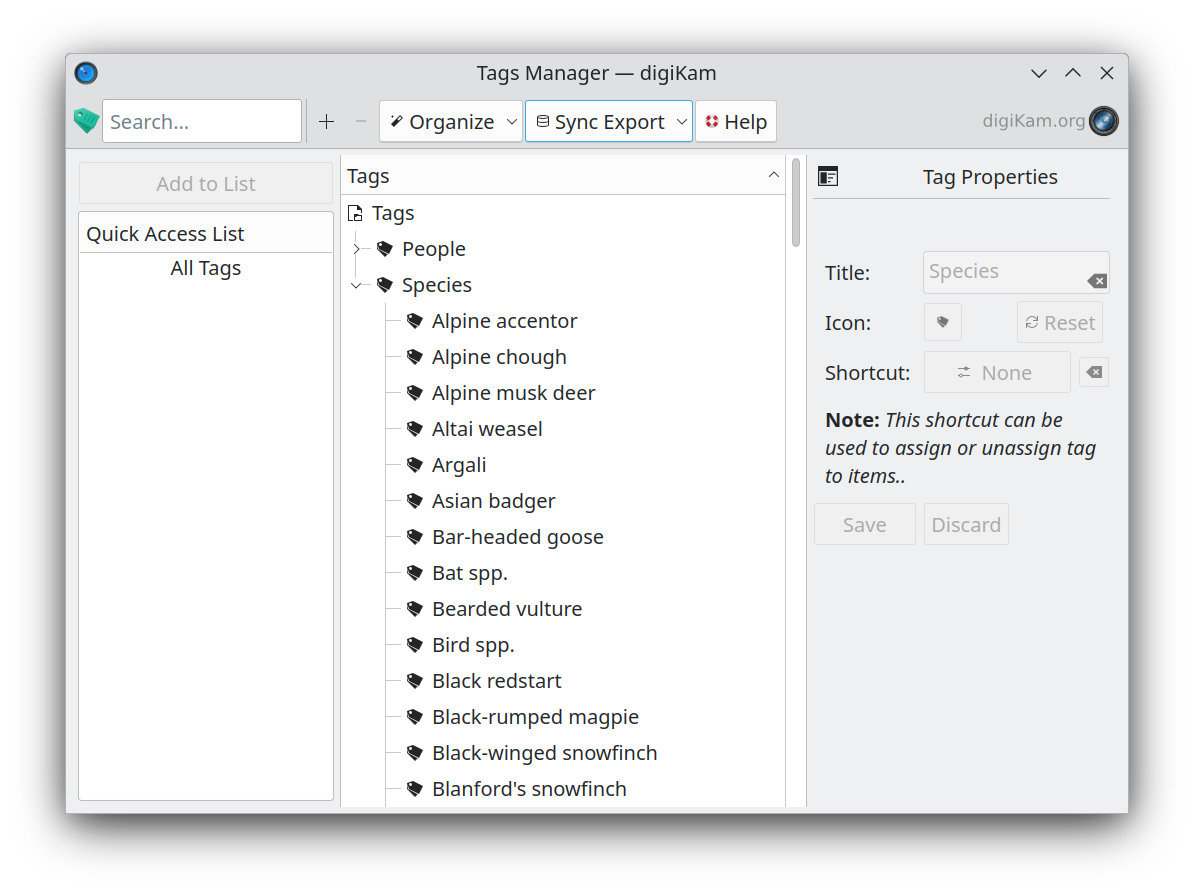
 Open Tags manager from the menu bar (
Tag -> Tag Manager). Choose Sync Export, select Read Tags from image and you are ready to go.
Import media
To import media, access Settings -> Configure digiKam -> Collections. For portable storage device, use Collections on Removable Media when Add Collection.
Tagging
Tag Species / Individual
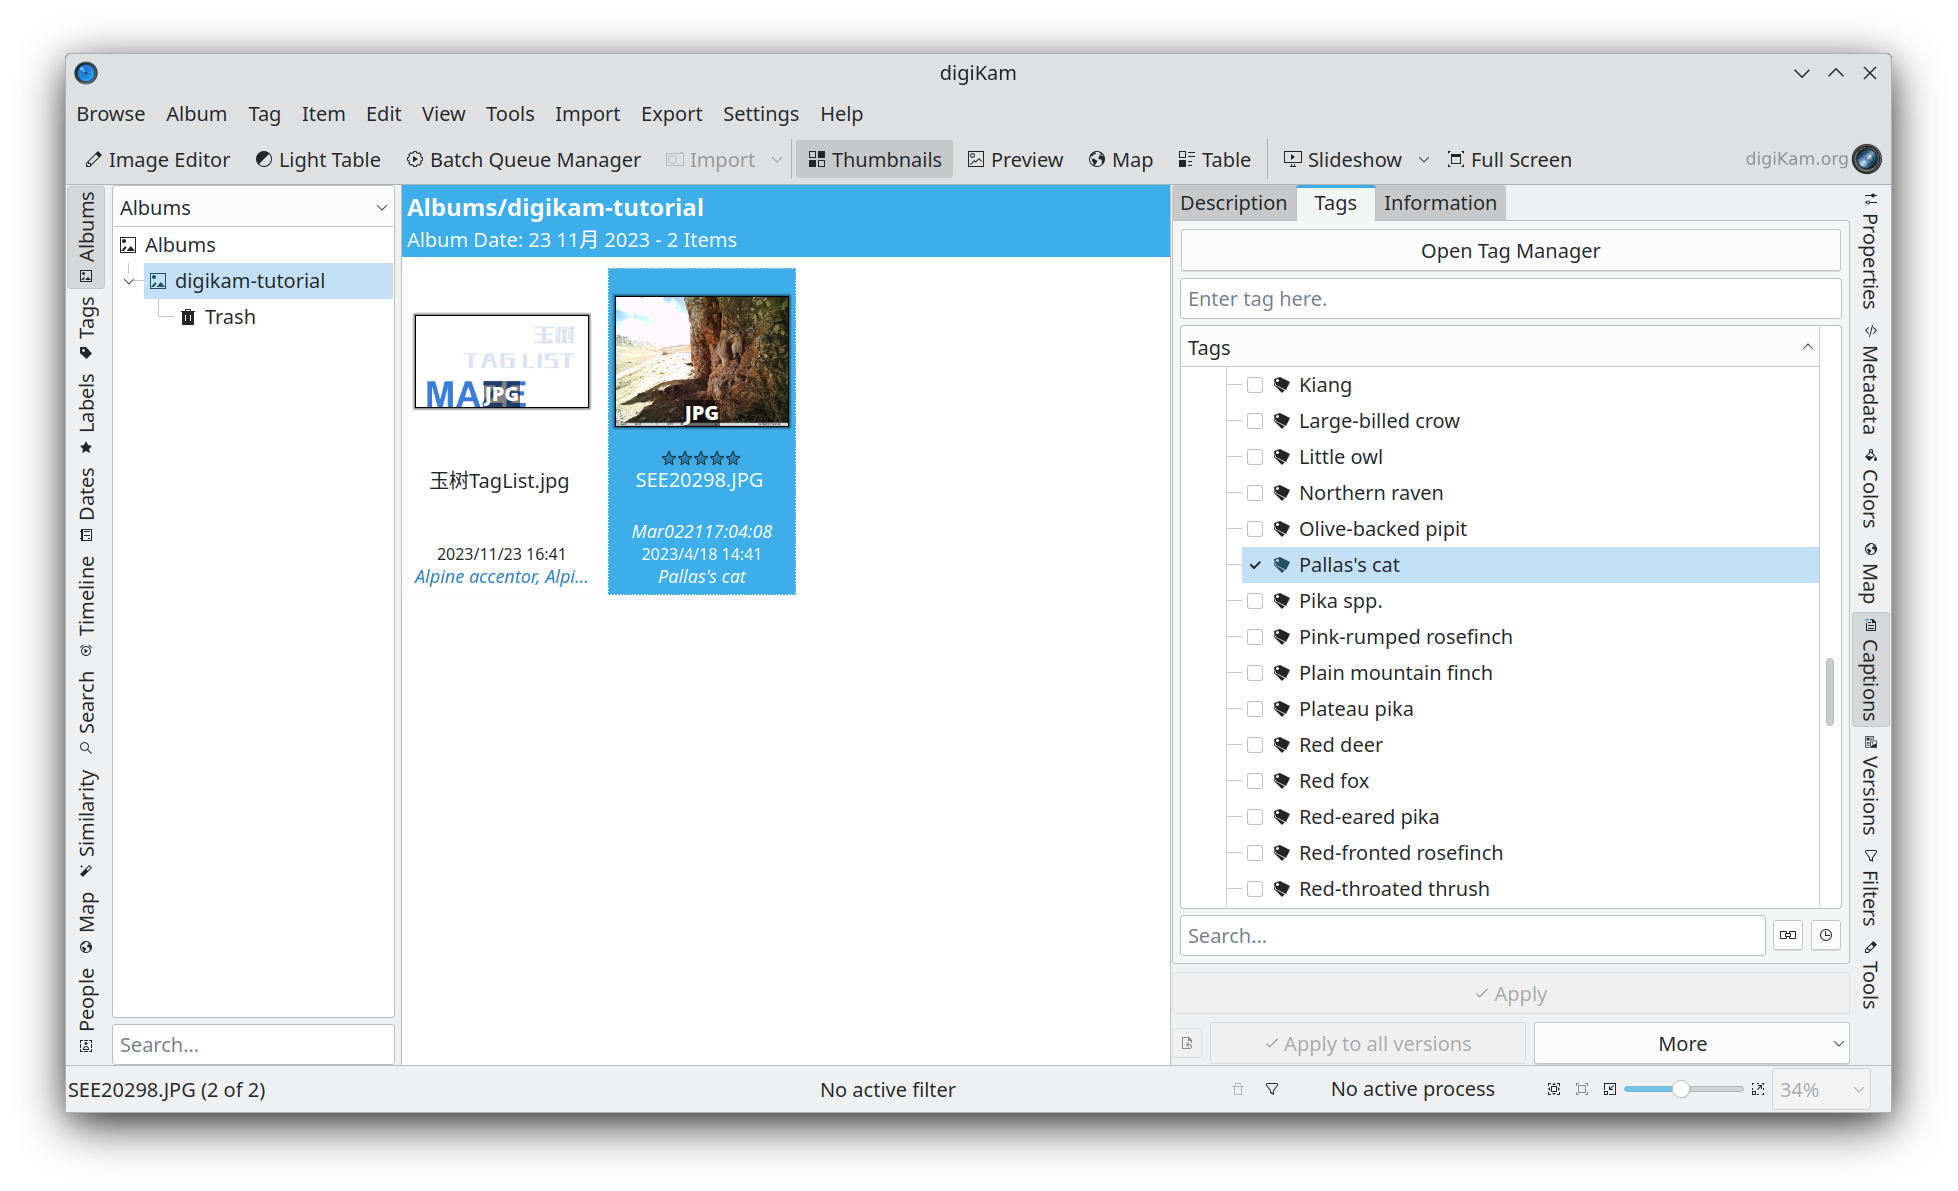
Select the media file (or multiple files) in the album. In the right panel under Caption -> Tags, check the checkbox next to the tag(s) you wish to apply, then click on Apply.
Note
Only the species name need to be checked, you don't have to click the checkbox before Species, which is merely a placeholder to maintain the layout in the taglist.
 Please refer to the species tagging standard or the individual tagging standard for further details.
Tip
Here are a few tips to make the tagging process more convenient and efficient:
Add new tag to digiKam tags
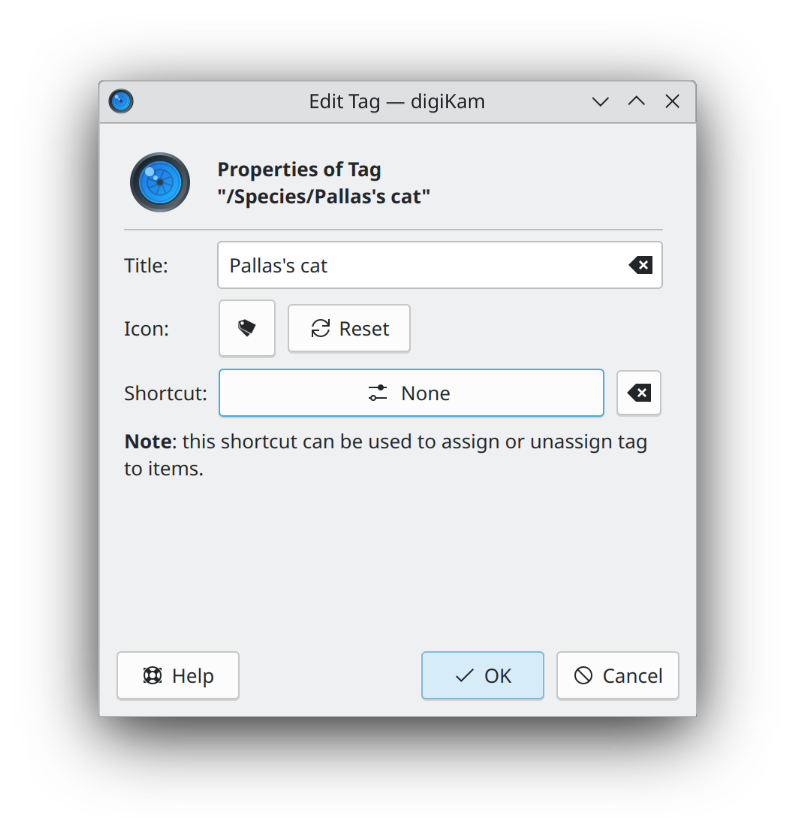
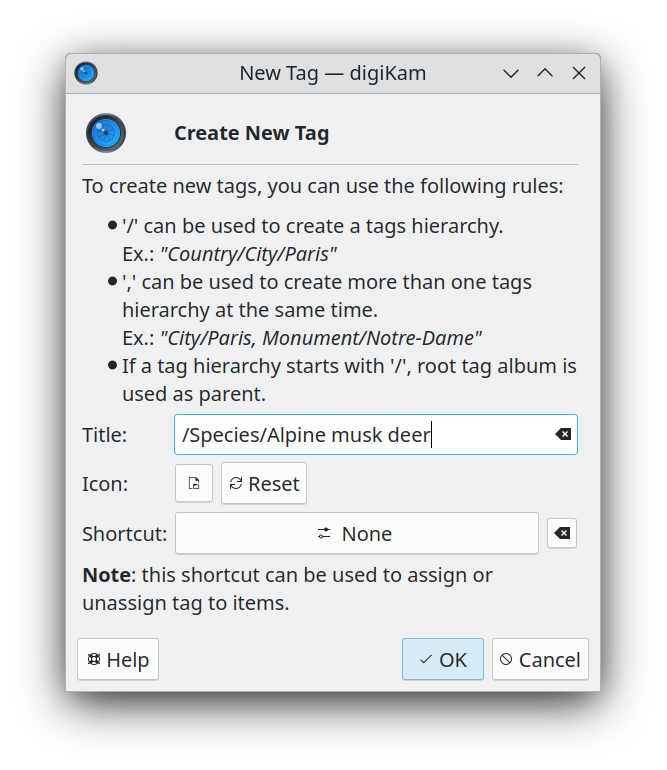
You can add new tags to digiKam if they are not included in our provided taglist. Open the Tags Manager from Tags -> Tag Manager in the menu bar and click the '+' button near the search bar.
Example
Suppose "Alpine musk deer" is not listed in the species taglist, and we aim to add it in digiKam. Input it as Species/Alpine musk deer, utilizing auto-complete to avoid any typos and ensure it's correctly placed within the hierarchy under "Species".
Rating
Hover your cursor over the thumbnails in the album, and you'll notice five stars appearing, allowing you to rate that media.
Refer to the rating standard for further details.
Write metadata
After tagging the media, ensure that you write metadata to files by selecting Album -> Write Metadata to Files from the menu bar.
